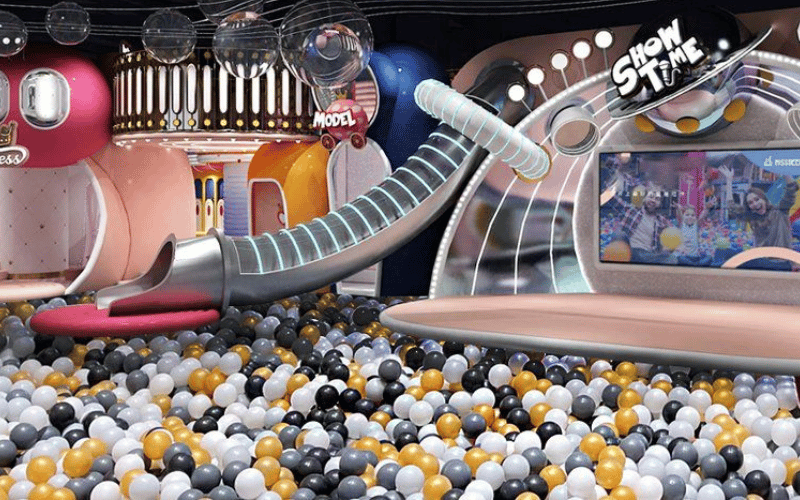
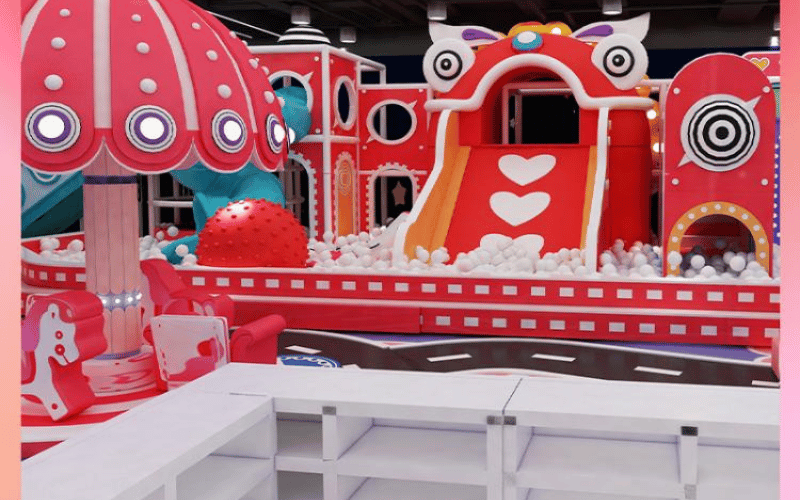
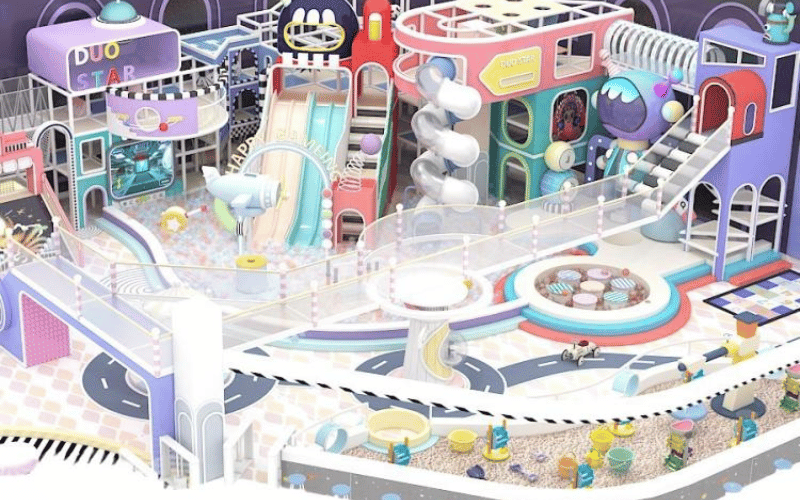
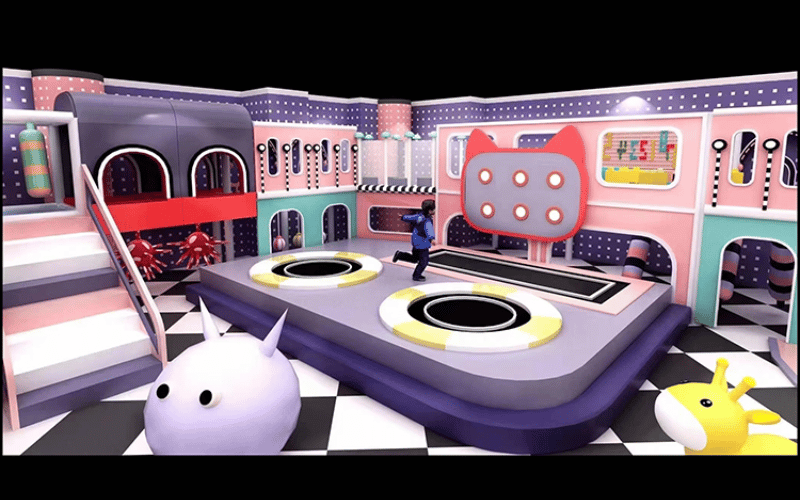
As more parents look for safe places for their children to be active, the need for indoor kids’ playgrounds has noticeably increased. Correct installation is essential from both a safety and business perspective. It can guarantee that the playground is safe and that your business will thrive in the long run. This guide will help you go above and beyond with your indoor playground, setting you apart from competitors, through actionable insights and thorough detailed instructions.
Table of Contents
ToggleThe Importance of Proper Installation of Indoor Playgrounds
Ensuring Safety and Compliant with Relevant Policies
Safety takes precedence in any center of entertainment and leisure, especially an indoor playground. An installation properly done reduces chances of eliminating accidents which makes it possible for children to play safely. All local and industry safety compliance such as safety regulations of using equipment free of toxic substances, proper spacing between equipment, and padding to prevent injuries should be done if it is to be embraced by parents and guardians. Inspections and certifications, done regularly would demonstrate commitment to safety.
Enhancing User Experience and Usability
Everyone using an indoor playground expects a well-installed facility enhances experience. There is minimal equipment failure or disruption when movement as a user is opened, equipment is aligned and firmly bolted. With other equipment already placed along the vertical plane within the same space increases fun for users; correct installation achieves optimized flow reducing crowding while increasing enjoyment.
In the longterm, it also benefits clients through increased customer satisfaction when repairs are reduced due to minimal wear and tear by high-quality construction. Professionals using durable materials to build improves ROI.
Avoiding Common Installation Pitfalls
The repercussions of mistakes made during an installation can be pretty costly, whether financially or resulting in damage to one’s reputation. Common errors include not observing the layout and dimensions of the space, resulting in overcrowding or inefficient utilization of space. One more common issue is failure to securely anchor the equipment, which poses a higher risk of some accidents occurring.
Using materials of lesser quality as well as cutting corners to save costs also backfires. Such errors can increase frequent repairs and create potential hazards. Hiring professionals experienced in the indoor playground industry ensures all equipment meets standards and regulations. Always remember to use proper planning and attention to detail to save significant headaches later on.
Comparing Two Installation Methods: Professional vs. DIY
Professional Installation: Ensured Quality and Convenience
Having your indoor playground professionally installed means that it will be set up accurately and with a high level of craftsmanship. Professional installers possess trained knowledge, ensuring that every component is properly mounted and all equipment is in compliance with safety regulations. This approach saves time and significantly reduces stress since you no longer have to handle the logistics and details of the installation. This means you can dedicate your attention to other important matters concerning your business.
With professional installation, there is always a cost to pay, be it labor fees, travel costs for the installation crew, and sometimes even accommodation expenses if the crew is coming from out of town. Although the initial cost may seem steep, value assurance and long-lasting reliability often compensate for the price.
DIY Installation: Requires More Effort but Lowers Cost
For those looking to save on costs, a do it yourself approach can be an interesting alternative. DIY installations don’t follow a strict timeline, so you can work at your own pace and implement fixes when necessary. If you possess the right set of skills and tools, this method can be quite rewarding.
With that said, there are significant challenges associated with DIY installation. This option in particular requires a massive time investment and a certain level of technical competency to ensure the equipment is configured appropriately and safely. This approach can be problematic if the appropriate tools are unavailable, leading to mistakes that might present safety risks or result in costly repair work.
Choosing the Right Installation Method
Your level of budget, set timetable, and skillset is one of the key factors that will dictate whether you opt for a professional or DIY installation. If safety, efficiency, and overall quality are your primary objectives, a professional installer is typically the best route to take. However, if you are on a very tight budget, possess the required skills, and are able to devote substantial time, a DIY installation approach will greatly benefit your finances.
Think about the intricacy of the playground layout and the support resources at your disposal. Professional service is almost always beneficial for larger, complex setups that require greater investment. For smaller setups, you can try the DIY approach provided you have the confidence. Ultimately, there is a balance of advantages and disadvantages to either method, and both should be evaluated before a decision is made.
Important Steps You should Take Prior to Installing a Playground
Pre-Installation Review: A Self-Assessment Checklist for the Initial Installation Steps
To avoid wastage of time and resources, proper planning is pivotal to any installation work. Commence with checking the relevant documents and confirming the given components have been completed. Assess all documents against the layout to check if all parts are complete and that nothing is broken. Carrying out this self- assessment helps avoid downtimes and confirmed availability of resources that are required for execution.
In addition, ensure that you review the playground design plans and project dimensions down to the last details because confirming accuracy helps eliminates errors that come with bad spacing, which could result in safety hazards and general downtimes with equipment not able to serve their functions.
Clearing the Site Where Installation is going to Take Place
In this section, our focus will be on preparing for the scope of work that needs carrying out, especially ensuring that the area is clean and void of scraps, leveled, aligned, and prepared in a way that creates order externally and internally. Cleansing disorganized work sites enhances performance and increases the lifespan of any time equipment. Should you identify the need to correct the area that needs ground works prior to extending services, ensure setting and realization to make things better.
Lastly, assess and confirm that the rough order of the placement of major segments around the site is strategically positioned around the fenced off region. Clear designated control zones provide boundaries for different scopes which can aid lesser hindrances to prompt and timely deliveries.
Tools and Materials Needed For a Seamless Installation
A successful installation requires specific tools and materials to be available. Assemblies often need materials like bolts, screws, and anchors. Tools such as wrenches, screwdrivers, drills, and measuring tapes are common. Specialized tools maybe required such as a level or power saw depending on the intricacy of the playground.
If working with a professional installation team, they usually have their own set of tools and materials. It’s recommended to communicate what needs to be supplied. For DIY installations, you should prepare a comprehensive checklist of tools and materials to avoid delays.
These measures will help set the groundwork for an efficient and problem-free installation of the playground.
Step-by-Step Guide to Playground Installation
Step 1: Spread the Floor Mat
Begin by laying down the floor mats, which serve as the foundation of your playground. Choose mats that suit your needs, such as EVA foam for cushioning or non-slip mats for added safety. Ensure the mats are evenly spread across the entire area, leaving no gaps that could cause tripping hazards.
To secure the mats, use adhesive strips or interlocking edges, depending on the type of mat. Double-check that the mats are firmly in place to prevent movement during use. This step is crucial for creating a safe and comfortable play surface.
Step 2: Assemble the Frame
The frame is the backbone of your playground, so it’s essential to assemble it with precision. Start by laying out all the frame components and following the manufacturer’s instructions. Use a level to ensure the frame is aligned correctly, and tighten all bolts and screws securely to maintain stability.
Pay close attention to weight distribution and anchoring points to prevent wobbling or shifting. Taking the time to properly align and stabilize the frame will ensure the safety and durability of the entire structure.
Step 3: Install Playground Equipment
Once the frame is in place, begin assembling the playground components, such as tunnels, ladders, and bridges. Follow the assembly instructions carefully, ensuring each piece is securely attached to the frame.
Use safety measures like locking mechanisms or additional fasteners to prevent parts from loosening over time. Regularly check that all connections are tight and that there are no sharp edges or exposed hardware that could pose a risk to children.
Step 4: Attach the Protection Net
The protection net is a critical safety feature that prevents falls and keeps children within the play area. Start by attaching the net to the designated points on the frame, ensuring it is evenly distributed.
Secure the net tightly using zip ties or clamps, and double-check that there are no loose sections. A properly installed net not only enhances safety but also gives parents peace of mind while their children play.
Step 5: Cover Steel Pipes with Foam
To minimize the risk of injuries, cover all exposed steel pipes with foam padding. Measure and cut the foam to fit each pipe, ensuring full coverage.
Attach the foam using zip ties, spacing them evenly to keep the padding secure. Make sure the foam is snug and doesn’t shift, as this could expose the steel underneath. This step is essential for creating a safe and child-friendly environment.
Step 6: Install Platforms and Add Final Touches
Secure the platforms to the frame, ensuring they are level and stable. Use a level to check alignment and tighten all fasteners to prevent movement.
Once the platforms are in place, add finishing touches like signage, decorations, or themed elements to enhance the overall experience. These details can make your playground more inviting and visually appealing.
Step 7: Clean and Inspect
After installation is complete, thoroughly clean the site to remove any debris, tools, or packaging materials. A clean play area not only looks professional but also ensures safety for users.
Conduct a final inspection using a detailed checklist to verify that all components are securely installed and meet safety standards. Check for any loose bolts, sharp edges, or gaps, and address any issues immediately. This final step ensures your playground is ready for use and provides a safe, enjoyable experience for all visitors.
Expert Recommendations for a Seamless and Effective Playground Installation
Overcoming Frequent Installation Issues
Regardless of planning and preparation, the installation stage often comes with challenges. An example of these challenges is misplaced parts, which can pay off with realignment, measurement verification, and leveling. If the steps require the installer to assemble specific pieces but they are properly labeled, double-checked, and still don’t align as expected you can always consult the production documents or help desk provided by the manufacturer.
Another obstacle often faced is incomplete packages or broken parts. To counter these, cross check with the packing list or keep spare parts for reluctant issues. Also, to maintain the overall integrity of the system while assuring assurance, if non-conforming equipment is detected pause the installation until the equipment is replaced.
Additional Suggestions For Efficient Organization And Instruction
In the context of reducing anxiety around schedules as well as time efficiency, it is recommended to take certain steps to make the system more organized. Each team member has a set time plan and specific target so it becomes instantly clear who is responsible for what and the project serves all deadlines.
To prevent confusion or delays, ensure that all tools, materials, and components are stored in a designated area. To improve efficiency in the assembly process, consider tagging and categorizing the parts as frame, equipment, padding, etc. Address all inquiries with the team as they arise.
Documenting Visual Processes for Future Reference
In the installation phase, taking videos and pictures can be beneficial. Visual documentation serves multiple purposes, ranging from verifying proper assembly to serving as a reference for maintenance or upgrades.
Capture images of critical milestones such as securing the frame, equipment attachments, and installation of safety mechanisms. These documentation can aid in training staff and serve to demonstrate compliance with safety protocols. Moreover, posting the photos on the organizations social media platforms can help stimulate interest towards the indoor playground and create expectation for its unveiling.
Applying the above strategies allows for an enhanced installation process while paving the path for an indoor playground that prioritizes safety and success.
Post-Installation Upkeep for Sustained Playground Performance
Routine Oversight For Safety And Durability
Consistent oversight is critical for maintaining and ensuring the safety of your indoor playground. As the first step, set up regular cleaning sessions to eliminate dirt, garbage, and germs from surfaces. Additionally, use non-toxic cleaning products that are safe for children and staff.
Examine slides, climbing structures, and foam pits to identify common traffic zones for maintenance. Check for loose bolts, worn-out padding, and any sharp edges or exposed hardware. Performing routine maintenance not only helps preserve your equipment but also provides a safe environment for your guests.
Managing Repair and Replacement Issues
Regardless of upkeep, some parts may need repairs and replacements. Repairs should be done in a timely manner, small repairs such as net tearing or loose fasteners to avoid bigger issues.
Consult your manufacturer or a professional technician for major repairs to guarantee proper execution of the work. To reduce waiting time, stock up on frequently used repair parts like screws, bolts, and foam padding. When upgrading or changing parts, use newer and more reliable versions that comply with safety regulations.
The Importance of Scheduled Reviews and Modifications
Scheduled reviews are essential to correctly identify risks and ensure safety adherence, eliminating possible hazards. For professional playground inspections, yearly appointments are mandatory, with periodic reviews necessary for heavily trafficked areas. These assessments reveal hidden problems, like material deterioration or structural damage, which are more complex than standard checks.
Another proposal is to refresh the playground periodically to retain interest. Redesigning certain areas or adding new features can maintain user engagement. Always stay informed on industry trends to make calculated changes that improve safety and user experience. Reliability can be achieved with proper updates made strategically, when safety compliance and user experience can be maximized closer to industry standards.
Combining prompt repairs with regular maintenance offers intensive care to increase reliability, ensuring the long-term success of your indoor playground.
Real-World Success Stories and Lessons from Playground Installations
Highlighting Successful Installations
An exemplary case of effective indoor playground installation is found in an entertainment center located in Texas. They converted a vacant warehouse into a colorful play area, and made sure, through careful landscaping, that the playground was fun to use and safe. Attention to detail regarding site preparation, the installation of components, and the materials used resulted in an attractive and sturdy installation.
The other success story refers to a community center in California that did a self-installation of a playground. Their cost-friendly solution received praise in the locality after meticulous planning and assembly resulted in a playground that complied to all safety standards. The installation aligned with local benchmarks.
Lessons Learned from Real-World Installations
The case studies demonstrate the importance of planning and safety compliance. The Texas project team learned that a professional installation, in this case by the project team, ensured that proper techniques were utilized thus securing any peace of mind that components were assembled correctly.
The experience gained from the California community center demonstrates the importance of organization and collective effort in a DIY project. They managed to sidestep issues such as missing pieces or having components not fit together smoothly by verifying each step along the way and assigning roles to volunteers.
Customer Testimonials
As one user who followed the installation procedures stated, “We were stunned at first, but it was all quite easy once we started tackling one piece at a time. The prep list guaranteed we’d do all the prerequisites and check off everything as we went, and what we got turned out to be much more than we ever dreamed of.”
Another testimonial from a business owner stated, “Engaging professionals for the installation was the best decision we made. Their professionalism ensured that we maintained our scheduled opening and the playground has been greatly appreciated by all families in the community.”
These testimonials and real world examples underscore the effectiveness of methodology regardless of whether it is professional guidance or a self installation approach.
Conclusion
Establishing a welcoming and secure indoor play area demands meticulous design considerations, appropriate equipment installation, and continuous caring attention. By sticking to the provided guidelines—from preparation and installation to maintenance—you will be able to achieve goals, both in the short and long term. If you decide to embark on your playground project, rest assured that you have the right information and resources at your disposal to execute it confidently. For a smoother journey, feel free to download our complimentary checklist on installation or contact professionals for tailored recommendations.


