Whether you are a parks and recreation manager or a school maintenance director, we recommend removing and storing your freestanding playground equipment the same way across all facility types. Facility managers are often looking for ways to make the removal and reinstallation of equipment easy and fast, and to prolong the life of their playground equipment and save space in storage areas. Our step-by-step guide will help you and your organization properly remove freestanding playground equipment and store it to protect its lifespan. Our team recommends using organized, secure storage methods rather than simply piling equipment in a corner to prevent unnecessary damage. For general safety, do not attempt to move equipment without the proper tools and personnel.
How to Remove Freestanding Playground Equipment
The first step you will want to take is to remove the freestanding equipment from its location correctly. We recommend detaching any loose or moving parts first, such as swing seats or chains. Carefully unbolt or unclip these components according to the manufacturer’s instructions. For further assistance with specific equipment, consult the original installation manual.
After you have safely removed the accessories, it’s time to release the main structure by unfastening its ground anchors. Whether you are dealing with surface-mounted bolts or in-ground footings, we suggest carefully removing them all. If you are using surface mounts, carefully unbolt the equipment and collect all hardware to prevent loss as you remove the structure.
Next, we recommend using the appropriate tools to lift and move the equipment safely. After the structure has been moved, it is now time to inspect it for any damage or wear. To properly assess the equipment, we suggest reviewing it from all angles. After the inspection is complete and any necessary repairs are noted, it’s time to prepare it for storage.
Before moving the equipment into storage, be sure that all components have been properly detached and secured, the anchors have been unfastened, and all hardware has been collected and stored. After all steps have been completed successfully, continue moving the freestanding playground equipment to a secure, dry storage area.
How to Fold and Store Freestanding Playground Equipment
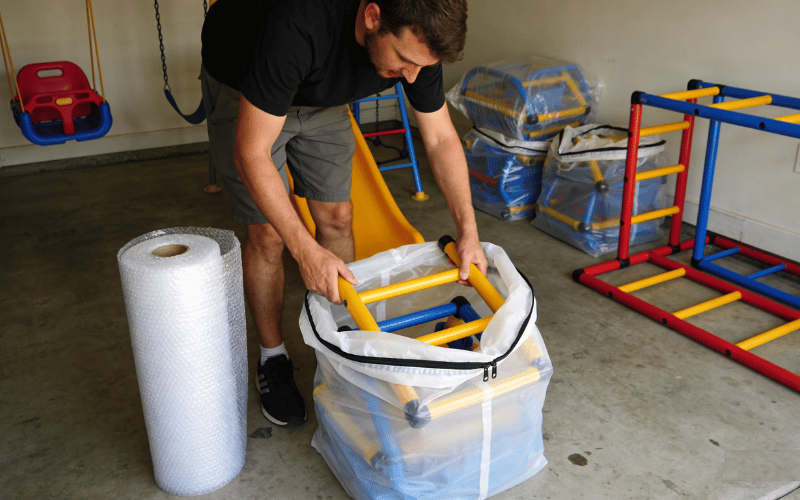
Next, there are two ways to start organizing your equipment. Some facility managers and teams like to start the process by grouping similar components before moving them to the storage area to begin stacking. Other maintenance staff and crew members like to lay all equipment pieces flat on the floor to check for damage or missing hardware before starting the storage process. After you choose the method that works best for your team, start by grouping the most significant components and stacking smaller items on top or alongside them. Group all hardware for each piece of equipment together in labeled bags and attach them securely to the corresponding item. The organizational process resembles that of a puzzle.
After you have completely organized the equipment, you should have all components grouped neatly with all hardware accounted for. The equipment should then be ready to be placed on your storage racks or pallets. Placing the equipment in an organized system will ensure it stays damage-free and is protected from traffic in and out of your storage facility. Make sure your storage racks are sturdy enough to handle the weight so that no part of your equipment is at risk of falling. If placing equipment on heavy-duty shelving is not an option for your facility, some managers neatly stack their equipment using the recommended method above and then cover the items with a durable tarp. Staff can then secure the tarp to help protect the playground equipment. Securing the storage area with a lock can also help protect the equipment.
For questions about setting up your playground equipment, we recommend visiting our library of installation guides or reaching out to your local representative.